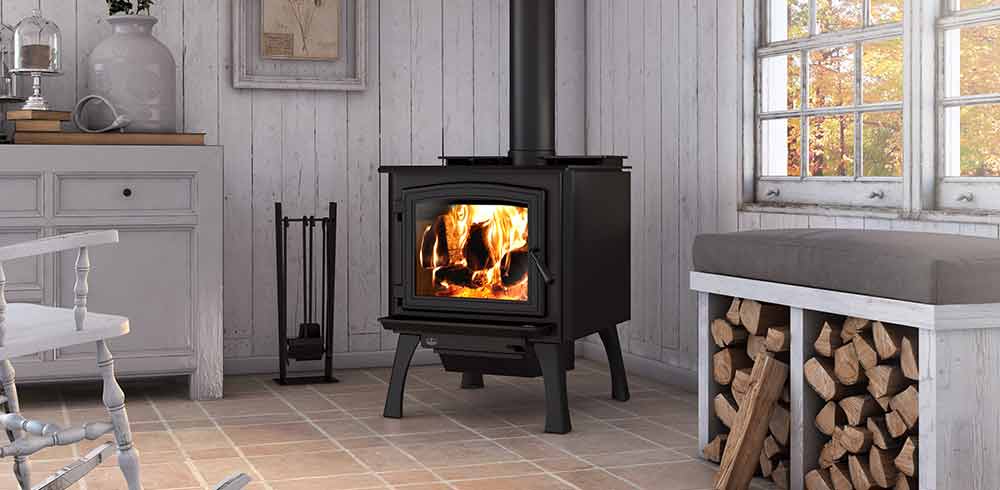
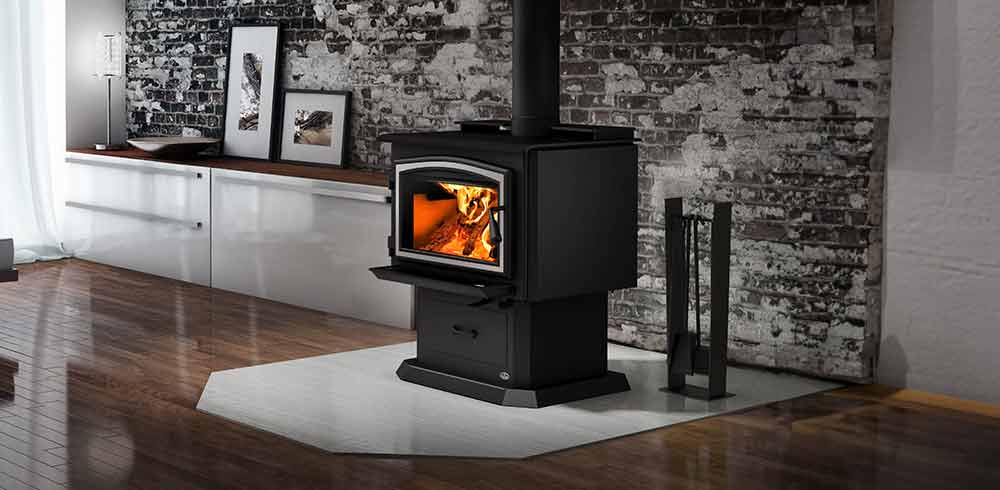
Installing a wood-burning stove involves choosing a suitable location, meeting clearance and floor-protection requirements, and connecting the appliance to an approved chimney system. Before work begins, have the installation planned around the exact stove model, the home’s construction and applicable local requirements. This guide explains the main stages and what to confirm with your installer.
A freestanding wood stove does not require an existing fireplace, but it does require a suitable exhaust route. Use this overview to prepare your project alongside the stove and venting manufacturers’ installation instructions.
1. Review the Stove’s Installation Requirements
Start with the installation manual for the exact model you plan to use. Review it before purchasing a hearth pad, stovepipe or chimney components. Similar-looking stoves can have different requirements.
- Appliance approval: Confirm that the stove is approved for the intended installation, including any special setting such as a manufactured home or alcove.
- Clearances: Identify the diagrams that match the stove position, connector type and any approved shielding.
- Floor protection: Check the required coverage and whether ember protection, thermal protection or both are needed.
- Venting: Confirm the approved chimney type, connection details, sizing and routing requirements.
- Local review: Contact the appropriate building or fire officials about permits, restrictions and required inspections.
Ask your home insurer whether it requires notification or installation documentation. Have a qualified hearth installer assess the proposed location and chimney plan before you commit to materials.
2. Choose a Suitable Wood Stove Location

Choose a location that serves the intended heating area while allowing a practical chimney route. A central living space may help heat reach the area you use most, but room layout, insulation and barriers between rooms affect heat distribution.
Before finalizing placement, have the installer check:
- Distances from walls, furniture, curtains, trim and other combustible materials.
- Space to open the loading door, handle firewood and service the appliance.
- The complete hearth footprint, including required extensions beyond the stove.
- Ceiling, roof and wall construction along the proposed chimney route.
- Floor support for the combined weight of the stove and hearth assembly.
- Household traffic, access routes and separation from children and pets.
Do not assume an existing brick wall, fireplace hearth or basement location makes the installation suitable. Each must be evaluated as part of the proposed arrangement.
3. Confirm Stove and Stovepipe Clearances
A clearance is the required separation between a hot appliance or venting component and combustible material. The stove body, connector stovepipe and chimney each have their own requirements.
Have your installer mark the planned stove position and verify the applicable dimensions before constructing the hearth or making openings. Corner installations, rear-vent arrangements and alcoves may use different diagrams from a standard installation against a flat wall.
A decorative noncombustible finish does not necessarily change the combustible construction behind it. Tile over a wood-framed wall, for example, should not be treated as permission to move a stove closer.
Use Heat Shields Only as Approved
A permitted heat-shield arrangement may reduce certain clearances, but its construction matters. Required spacing, ventilation, coverage and mounting details must match the approved method. A stove-mounted shield, connector shield and wall shield are different components.
Do not attach sheet metal to a wall and assume the original clearance can be reduced. Confirm the exact arrangement with the installer and applicable instructions first.
4. Specify the Required Hearth Protection

The hearth or floor protector must satisfy the appliance’s requirements for both size and protective performance. Choosing a surface that looks noncombustible is not enough to establish that the assembly is suitable.
| Requirement | What It Addresses | What to Confirm |
|---|---|---|
| Ember protection | Protection from sparks or embers reaching combustible flooring. | Approved materials, continuity and coverage. |
| Thermal protection | Limiting heat transfer to the floor beneath the appliance. | Any required insulating performance, such as a specified R-value. |
| Hearth dimensions | Protection extending beyond the appliance and loading openings. | The exact measurement points and extensions shown in the manual. |
Some stoves require ember protection without an additional insulating requirement; others need thermal protection as well. Have the complete assembly specified for your model. Do not assume a layer of tile, stone or cement board meets every stove’s requirements.
5. Plan the Approved Chimney System
The exhaust system is central to stove performance. It must carry combustion gases outdoors and support the draft the appliance needs. Plan the entire route, including supports, transitions, building penetrations and termination.
Understand Stovepipe vs. Chimney Pipe
Connector stovepipe links the stove to the chimney. It is not a substitute for the chimney system required through building structures and along the exterior route. Single-wall and double-wall connectors also have different installation requirements.
Use the specified transitions and compatible components. Matching diameter alone does not prove that parts from different systems can be connected. Have the installer identify the required components before shopping chimneys and venting.
Through-Ceiling or Through-Wall Routes
A suitable route may pass upward through the building or transition through an exterior wall to a chimney that continues upward outside. A through-wall arrangement does not mean the exhaust can simply terminate at the wall.
The permitted route, offsets, supports, clearances and termination height depend on the stove, chimney system and building. Review wood chimney systems after those requirements have been established.
Using an Existing Masonry Chimney
Have an existing chimney inspected for condition and suitability before connecting a new stove. Its construction, flue size, liner, connection and any other appliance connections need evaluation. Cleaning, repairs or an appropriate liner may be necessary.
An old chimney opening or a chimney that served a previous appliance is not proof that it is ready for the new stove.
6. Confirm Combustion-Air Requirements
A wood fire needs combustion air, and the home’s air supply affects operation. Have the installer review the stove’s outside-air provisions and any requirements specific to the building or installation.
Exhaust fans and other equipment can affect pressure in the home. If the proposed location raises concerns about draft or air supply, resolve them during planning rather than treating an open window as the permanent solution.
Use only the air-supply arrangement and components permitted for the selected appliance.
7. Complete Installation and Required Inspections
Have a qualified installer assemble and connect the stove and chimney according to their respective instructions and the approved project plan. The work may include hearth construction, chimney supports, flashing, approved penetrations and installation of model-specific components.
Before use, confirm that required inspections have been completed and any deficiencies corrected. Keep the appliance manual, chimney instructions, installation records and inspection documentation together for future service.
Ask the installer to explain the controls, fuel requirements, routine checks and maintenance schedule. This handover is especially useful if you are new to wood heating.
8. Prepare for the First Fire
Follow the manufacturer’s first-use procedure. Some manufacturers require a sequence of initial fires to cure finishes or condition components. Do not substitute a full firebox load for the specified procedure.
- Confirm that packaging has been removed and required internal components are correctly installed.
- Check that smoke and carbon monoxide alarms are installed and functioning in the required locations.
- Keep firewood, furniture and other combustibles outside the required clearances.
- Use only permitted fuel and fire-starting materials. Never use gasoline or similar flammable liquids.
- Review the correct door, air-control and catalyst procedures, if applicable, before lighting.
- Know how to respond to smoke entering the room, abnormal operation or an alarm.
Arrange ventilation as directed for initial curing, but do not assume indoor smoke or a carbon monoxide alarm is normal. If an alarm sounds or the stove operates abnormally, follow the applicable emergency instructions and have the issue resolved before further use.
What Affects Wood Stove Installation Cost?
The complete installation cost depends on the work required at your home. Ask for an itemized estimate covering:
- Appliance assembly and placement.
- Required floor protection and any approved shielding.
- Connector stovepipe, chimney or liner, supports and termination components.
- Roof or wall penetrations, weatherproofing and finish work.
- Existing-chimney inspection, cleaning and repairs.
- Any required outside-air components or electrical work for accessories.
- Labor, permits and inspections.
A short visible pipe run does not necessarily mean a simple project. Compare the complete scope and specified components before choosing an installation proposal.
Wood Stove Installation Checklist
- Exact stove model and installation manual confirmed.
- Local permit, restriction and inspection requirements reviewed.
- Location, loading access and floor support assessed.
- Appliance, connector and chimney clearances verified.
- Hearth coverage and protective performance specified.
- Chimney route and compatible components identified.
- Existing chimney evaluated, if applicable.
- Combustion-air requirements addressed.
- Required inspections completed before use.
- First-fire procedure and maintenance instructions reviewed.
Frequently Asked Questions
Can you install a wood stove without an existing chimney?
Yes, if a suitable new chimney system can be installed for the selected stove and location. The project must include the approved chimney, connector, supports and required building penetrations. A wood stove still needs a chimney even when the home does not already have one.
How far does a wood stove need to be from a wall?
There is no single clearance that applies to every installation. Use the exact model’s clearance diagrams for the installation configuration, along with the connector and chimney requirements. Confirm any proposed clearance reduction before positioning the stove.
Is tile flooring enough protection under a wood stove?
Not necessarily. The complete floor assembly must meet the stove’s requirements for protective performance and coverage. Some appliances need ember protection, while others also require thermal protection. Tile installed over a combustible floor does not automatically satisfy those requirements.
Can a heat shield reduce wood stove clearances?
Sometimes, but only when the applicable installation instructions and requirements permit the specific shielding arrangement. Materials, spacing, ventilation and coverage matter. Attaching sheet metal or tile directly to a wall does not automatically establish reduced clearances.
Can a wood stove vent directly through an outside wall?
A wood stove cannot simply terminate its exhaust at the wall like some other appliances. An approved through-wall installation transitions to a suitable chimney system that continues upward and terminates as required. The stove and chimney instructions determine the permitted arrangement.
Can I install a wood stove myself?
Whether homeowner installation is permitted depends on local requirements, the appliance instructions and the project. Professional installation is recommended because clearances, hearth protection, chimney construction and draft must work together. Confirm permits and inspection requirements before work begins.
How much does wood stove installation cost?
The cost depends on the chimney route, existing chimney condition, required hearth protection, building modifications, labor and inspections. Request an itemized estimate for the complete installation rather than comparing appliance prices alone.
Final Thoughts
A successful wood stove installation starts with the complete system: the appliance, hearth, clearances, air supply and chimney. Confirm the plan before ordering components, then complete the required installation checks before enjoying your first fire.
Explore wood-burning stoves and chimney and venting components at Fireplaces Direct. For help comparing products and identifying compatible components, call 877-374-2070 or contact our product specialists. Share your stove model and installer’s specifications so we can help with product selection. Your qualified installer handles site assessment and installation.
Installing for a client? Contractors, builders, designers and other trade professionals can apply for a free SpotixPro account for trade pricing and project support.